My jewelry collection was an eyesore. Let’s just put it at that (you’ll see). I would forget about pieces buried in the bottom drawer of my jewelry shelf, all those necklaces had a tendency to get clumped together, and it just gave me a headache to look at it. Finally, in an attempt to make little spaces like this of my home environment more cozy and put-together, I decided to tackle the jewelry organization project head-on. With a little perusing on
Pinterest, I put together some rough ideas of what I wanted the finished project to look like and headed to the thrift store.
I went through about three phases of putting this project together over the course of about a week, so I’m going to share those with you in case it provides some inspiration for you too:
Phase I
Thrifting a jewelry holder and giving it a makeover
What began its life as a collector spoon holder (I think??) is now the bearer of all my jewelry.
I went to the thrift store with the sole purpose of finding some old forgotten knick-knack shelf to repurpose, since they’re usually quite easy to come by. After perusing the correct aisle, I didn’t come across any that I was satisfied with. The selection was pretty picked over at the time I got there, so I went on my next mission in the store, to find some 16×20 frames. By chance, I returned to that original aisle again to return something I decided against buying and did one more quick sweep. This ugly gem was hidden under some other nondescript wooden things. It’s really made out of some quite durable wood and had that nice drawer on the bottom for earrings and such. Score!

After work the next day, I took a trip to the hardware store and stood a full 5 minutes in the paint aisle trying to decide what color I wanted this bad boy to be. I had green in my hand, but I was still debating. Our bedroom is green, but what if it didn’t quite match? I finally thought, why not make the jewelry shelf match some of the jewelry itself with a fresh coat of silver? While I was at the hardware store, I also picked out two drawer knobs and some ring screws to add to the shelf for extra storage.
The finished product. A HUGE improvement!
Hubster helped me find the right screw length for the side knobs, but I did all the work! These knobs and extra screws on the bottom provide extra storage for longer necklaces and such.
Phase II
Cleaning the jewelry
While I was going through my jewelry, deciding what to keep and what to donate, I came across a few pieces I still really like but that have become quite tarnished with age. With a little research online, I decided to try lining a glass casserole dish with tin foil, sprinkling baking soda over the jewelry, and pouring water over the top. This worked for some of the jewelry, but I had to go back and rub toothpaste on a few items to really get them to shine again. No expensive jewelry cleaner required!
Phase III
Jewelry organization
In order to tame the chaos that my jewelry had become, I wanted the finished project to be as orderly and visually appealing as possible. The first thing I did was gather some silver cardstock from my scrapbooking collection. I made these nice earring cards by simply poking holes in the folded cardstock with a thick tapestry needle that I had, but I’m sure a safety pin would’ve done the trick. I absolutely adore how my earrings are all organized and easy to grab now. I can get a good look at them all with one quick glance. And none of them are buried in a mess, only to never be used again. In fact, today I’m wearing a pair of earrings I had forgotten I even had!
Next, I strung all my necklaces on the spoon holder thingies, which turned out to be great necklace holders. Hubster happened to have a nail that perfectly matched the silver shelf, so I used that to affix the organizer to the wall behind our dresser. Now all my necklaces are completely visible, making getting dressed in the morning quick and easy.
Before
It pains me a bit to even show this (bad lighting notwithstanding) “before” picture. It’s really unnerving to keep my jewelry in such a disarray. And you can’t even see the dust bunnies collected there. *Shiver*
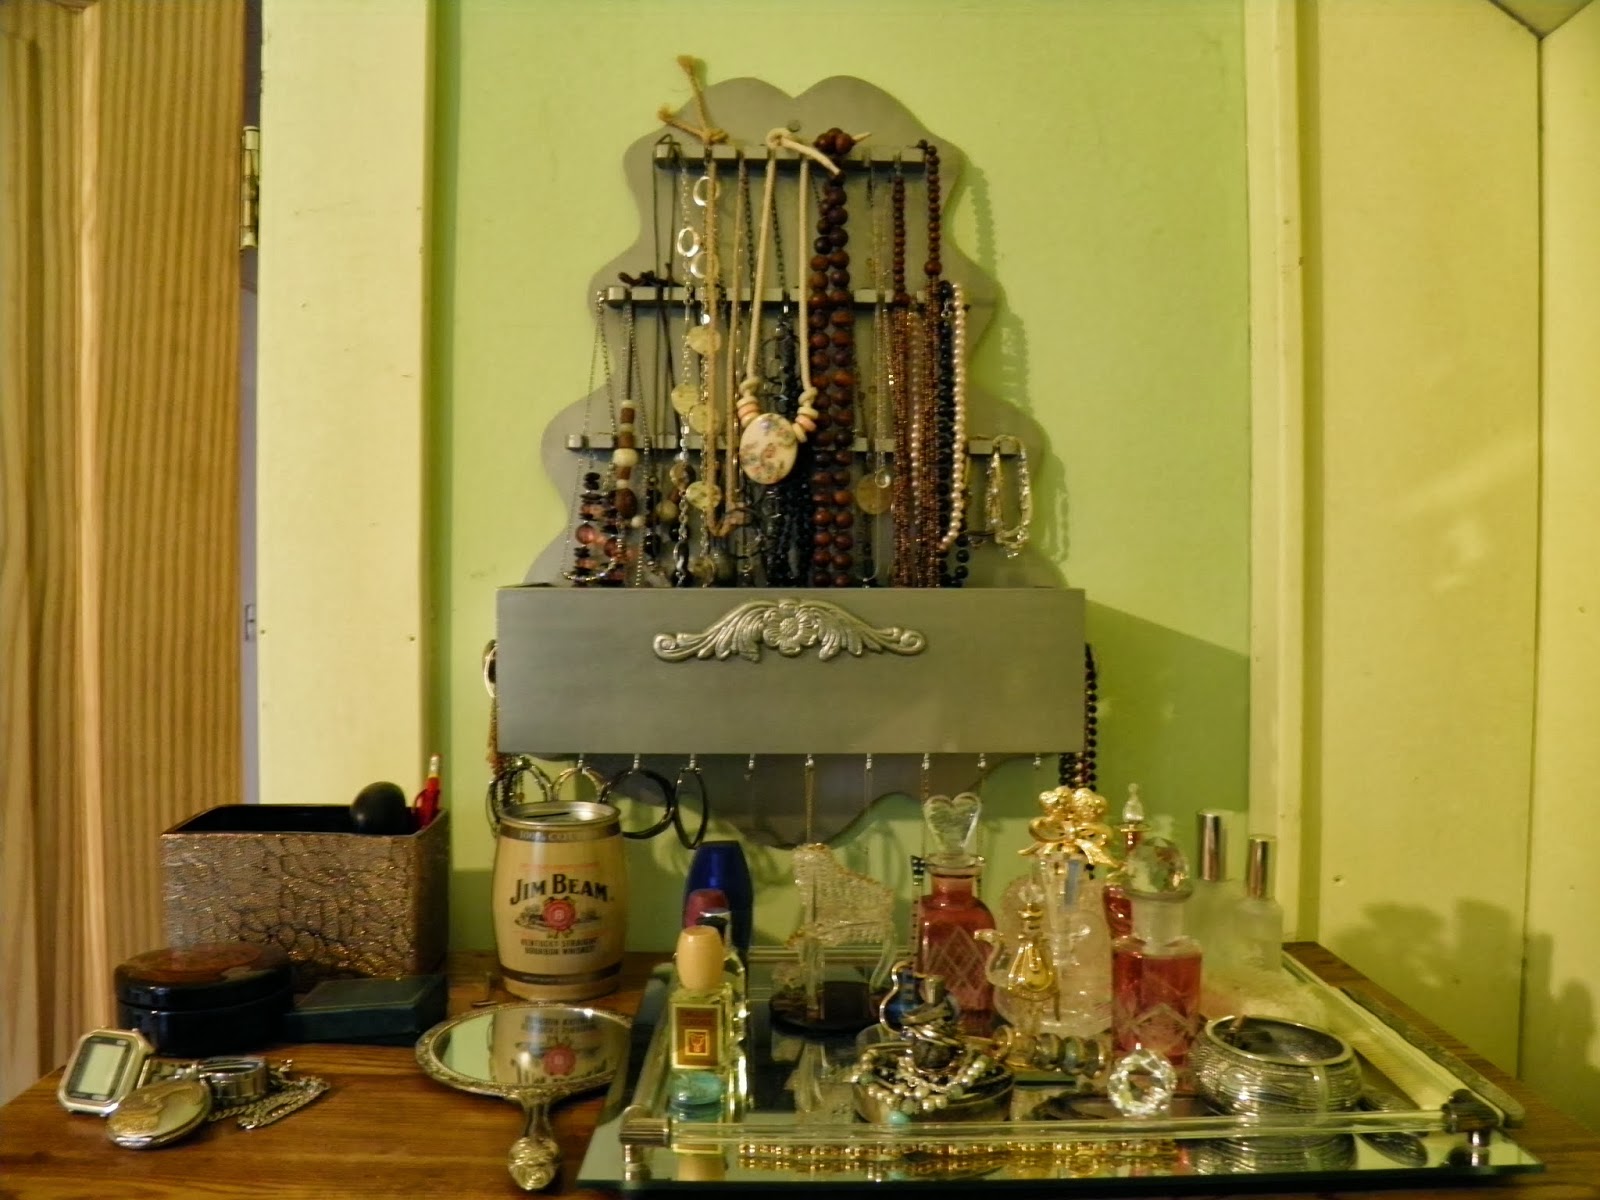
After
Not only does my jewelry look much better, but now my collection of glass perfume bottles is also on display again. Those pretties were kind of shoved behind my jewelry shelf and piled on with…random things. Now they’re all out for show again, just as I like them.
I’ve been collecting these pretties since High School
Ah much better
I forgot I even had this little ring holder in all my mess of things. It came in handy since I didn’t really have any other viable, convenient place to store my rings. The ring holder came with a matching vintage mirror and brush/comb set that I have on the dresser too. The vintage “dressing table” theme suits me perfectly!
That’s a wrap! I feel much more comfortable in my room now that I don’t have to look away from my dresser. Tackling these small spaces in my home, one at a time, has done wonders on my comfort level. I am so completely satisfied with these results and pretty satisfied that I tackled this project all myself.
How do you organize your jewelry at home? I’d love to see pictures or hear about your solutions too.


